Get the API key
Home
Getting Started
Knowledge Base
API Setup
Omnichannel API
- Overview
- Quickstart
- Theory
- Sender Name
- Specification
- Requests & Authentication
- Development Libraries
- SMS Message
- Viber Message
- WhatsApp Message
- Delivery Report
- Scheduled Messages
- Inbound Messages
- HELP
- API Reference
Verigator API
SMPP
Number Lookup
Phonebook API
Bulk Messaging API
Subscription API
Account Balance API
Pricing API
Statistics API
Number Verification
Tools
FAQ
Sending more than 100 000 SMS messages a month?
Talk to salesDashboard FAQ
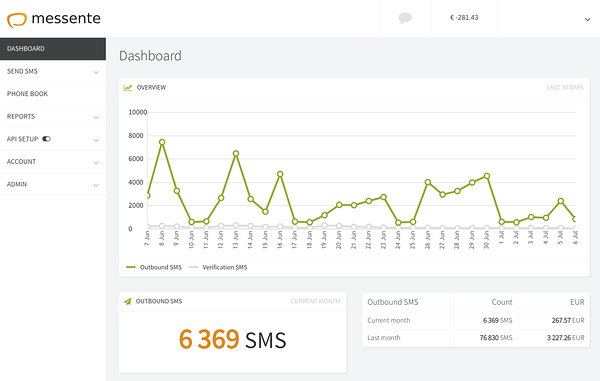
Messente’s dashboard is a great tool in order to manage one-time campaigns, create contact groups for repetetive campaigns, check on statistics, etc.
Creating contact groups
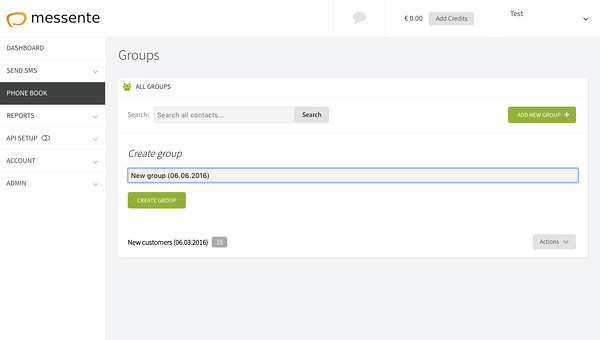
You can save specific contact groups to use them on regular basis for one-time messages. To save a contact group:
- Create a CSV file (tutorial)
- Click on Phone Book in the menu
- Click Add New Group and name it
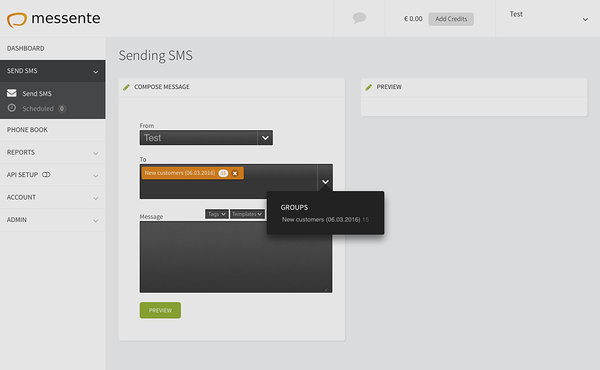
Sending messages to saved contact groups
- Go to Send SMS in the menu
- Click on the drop down menu in the “From” field
- Choose the saved group you need to send a campaign to.
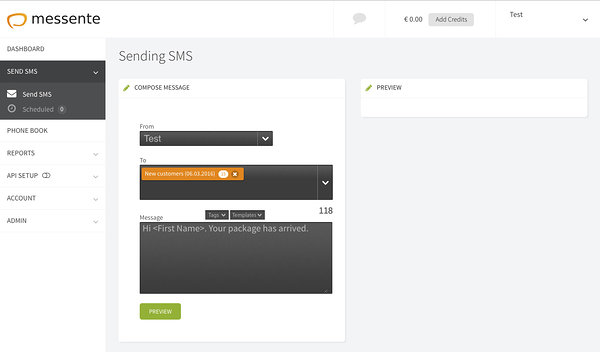
Using tags in SMS - Personalise SMS messages with variables such as person’s name, email, etc.
- When creating a CSV file (tutorial on creating a CSV file,) add other columns and name it accordingly (e.g. name). Below, add the variable. Upload the CSV file.
- When using that contact group to send an SMS campaign, use matching tags from previously created CSV file (e.g. <First name>) in the content of the SMS.
Using SMS templates - save SMS templates that are being used often.
- After writing the SMS content at Send SMS in the menu, click on the Templates button above the “Message” field and then Save As Template for future use.
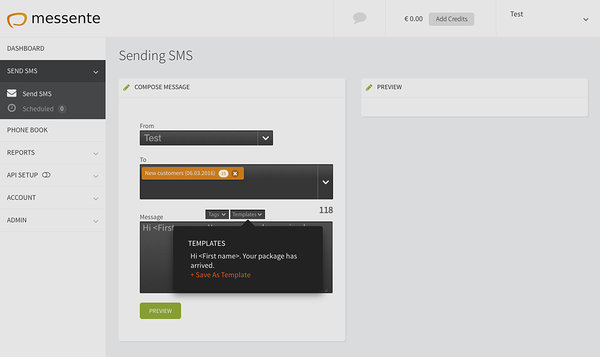
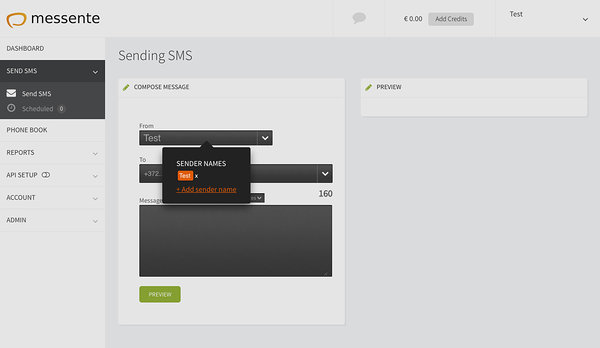
Adding new sender names - whenever your customers receive SMS messages, your registered sender name will be displayed on their phones
- In the menu, go to Send SMS, click the drop down menu in the “From” box and add a sender. Messente requires up to 24h confirmation when registering sender names.
- Branded sender names have different legal requirements for every country.
Managing users and permissions
- In order to add, remove, or manage users, go to Account -> Users and Permissions.
- To invite user, click on Invite User and insert the email address. After choosing the role you want to assign (read more about roles here) click on Invite. The invitation arrives to their inbox.
User roles - there are two roles for using Messente’s dashboard. Administrator and Sender
- Administrator - full access to the web tool
- Sender - can send and manage SMS campaigns but limitation to access invoices and reports.
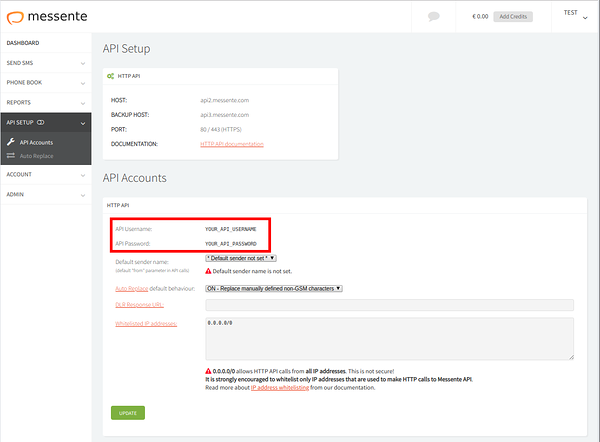
Finding your API key
Navigate to Dashboard API settings and you can find your API username and password there.
Search results
0 items found Get the API key
Home
Getting Started
Knowledge Base
API Setup
Omnichannel API
- Overview
- Quickstart
- Theory
- Sender Name
- Specification
- Requests & Authentication
- Development Libraries
- SMS Message
- Viber Message
- WhatsApp Message
- Delivery Report
- Scheduled Messages
- Inbound Messages
- HELP
- API Reference